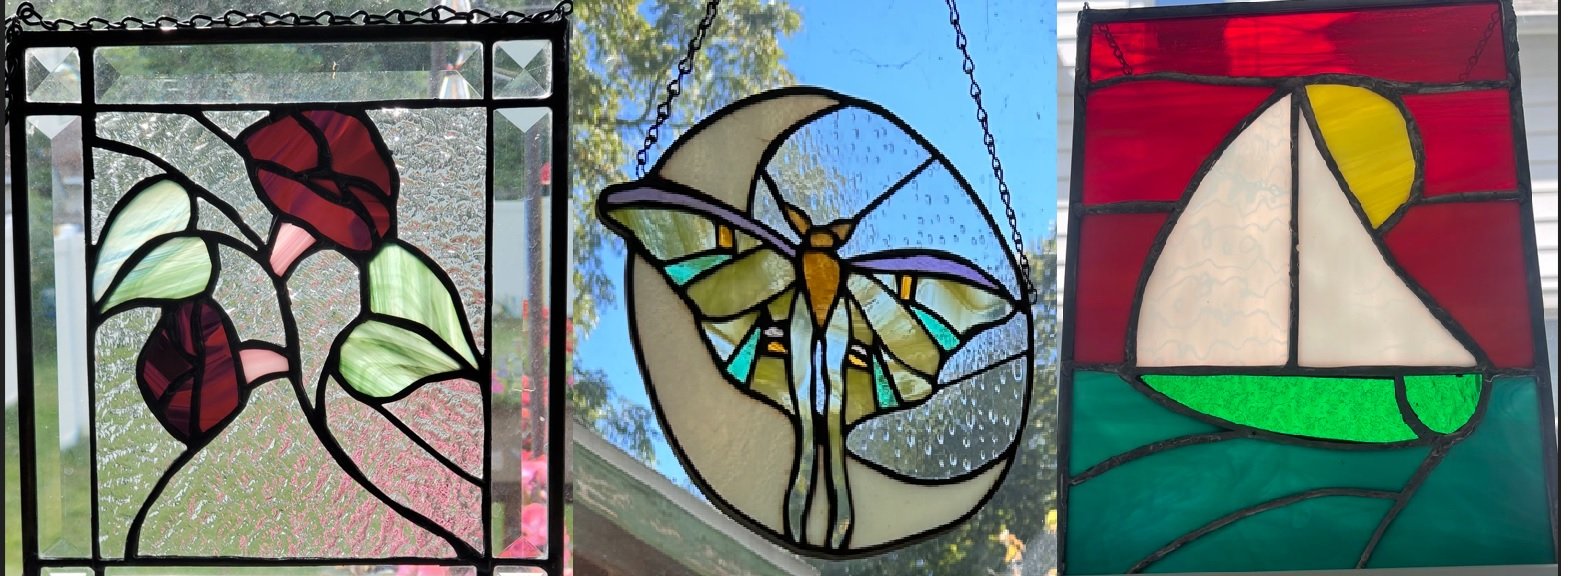
STAINED GLASS CLASSES for beginners & advanced students
Our classes are both great fun and a wonderful creative experience… a sort of artistic escape… a complete change from day to day in our tech world of today!
We have two levels of our stained glass classes: (1) Beginner students wanting to learn the basics and complete a simple first project, (2) intermediate students wanting to complete a more complicated project in a supervised setting
Class sessions are four consecutive Monday evenings from 6:00-8pm, with some exceptions due to holidays.
Stained glass classes are currently offered on a monthly basis and are limited to eight individuals. Look at the class schedule, and then schedule a class by calling (616) 454-9666 or by stopping in the shop.
The cost of our Stained Glass Class is $120 for the four weekly Monday evening sessions.
Expect additional costs somewhere around $100 to $150 to complete your first project. See below a breakdown both by tools/materials and by week what student need to provide. (Some costs may be shared between two people taking the class together.)
Tools:
Tools provided for your use to includes hand tools (e.g., breakers, running pliers, groziers, lead knippers, needle-nose plyers, grinders, metal saw.
After the first night, students need to purchase their own glass cutter, sharpy/sharpies and a flux brush. A burnisher and project work-board are also suggested. A complete tools list is included below.
Suggestion: Don't buy any cutter prior to the first class. (Trying out cutter types the 1st class night may help determine which is best for your use.)
Materials:
Students are required after the first night to purchase materials for their personal project.
Steps for a Student Personal Project - Tools & Supplies/Purchases
Not all materials are needed the first week, so the expense can be spread out over the class weeks. Also, two people taking the class together may share materials, reducing costs for copper foil, solder, and flux for the pair. (Note: We have everything available in the store.)
The logic-process flow goes like this:
First, pick a pattern/design for your project and get it approved.
Next, pick the glass for your project.
Select the copper foil.
The last night, select your edging material based on your prior choices.
Examples of all this are explained, discussed and walked-through throughout the class.
For Week 1: No additional purchases needed for the first night of class. If you have your own safety glasses, bring those. We supply safety goggles/glasses.
For Week 2: Come to class with a glass cutter, one or more sharpies (depends on the glass selected) and the glass for your personal project. A work-board is very helpful and is suggested to purchase but is not required.
For Weeks 3-4: Copper foil is needed. A burnisher is suggested.
For Week 4: Solder, flux, and a flux brush are required minimally. Horseshoe nails are also suggested. Depending on your project, you may also need patina for antiquing/oxidizing your project, Zinc or Lead came for the edging to give your project strength/structural integrity. If you are going to hang your project, you need twisted wire and may need short length of chain.
Purchasing Glass for your Project:
The optimal way to select glass for your project is by laying different colors and textures of glass out to see how the colors and textures accent each other. This way, you can see what matches or contrasts perfectly to get the best glass selection for your projects.
STAINED GLASS CLASSES FOR BEGINNERS
Of our leaded glass classes, this is the first class that someone would take.
It’s also great for someone who learned in the past but is not up-to-date or current on the basic steps: design, cutting, assembly, soldering & finishing.
In this class, we learn how to create a leaded glass foil project, start to finish.
You can select from one of our simple designs or create your own design. Designs must be approved by the teacher as some projects may be too complex or difficult. Many designs need adjustments. Overall project size and number of pieces is limited so that the project can be accomplished in the time allotted. In this class, you learn the foundational techniques. This first project should be 15 pieces or less.
- The first night of the class, all students complete a very small, directed piece where you learn and start to practice the steps to creating stained glass art, how to use the tools, and some personal techniques to make the process more effective.
– Your personal project is completed within the next three classes (week 2-4, total 6 hours). You take home your completed project at the end of week four, the last class.
– Class nights two through four, students work on their individual projects. Week 2 & 3: Cut the glass for your project. Week 3: Take the cut pieces home to foil. Week 4: Assemble and solder the project, also add came edging, hangers and chain, if needed.
Stained glass Classes for Intermediate & Advanced students
Students need to have their pattern approved prior to the first night and come in that first night with your approved pattern, project board and glass and cutter to begin working on your project day one.
SPECIAL PROJECT CLASSES
These are classes where a project is selected by the instructor and advertised as such. Examples include Star Christmas Tree ornaments or Angel and Fairy sun catchers. These classes are posted when they are scheduled.
CLASS supplies check list
Make sure you label all your tools with your name before bringing to class.
Student responsible :
Cutting oil*
Glass cutter*
Cutting board*
Pattern for glass*
Glass*
Sharpie marker*
Copper foil
Solder
Solder flux
Flux brush
Patina
We supply the following:
Breakers
Breaker/grozier (combo tool)
Running pliers
Soldering iron
Soldering iron stand
Sal ammoniac block
Grinders
Pattern foil and came shears
18” ruler
Fid/burnisher (combo tool)
Safety glasses
Lead nippers
Lead shears
(* Needed 2nd week of class.)
